In This Chapter
Aretes
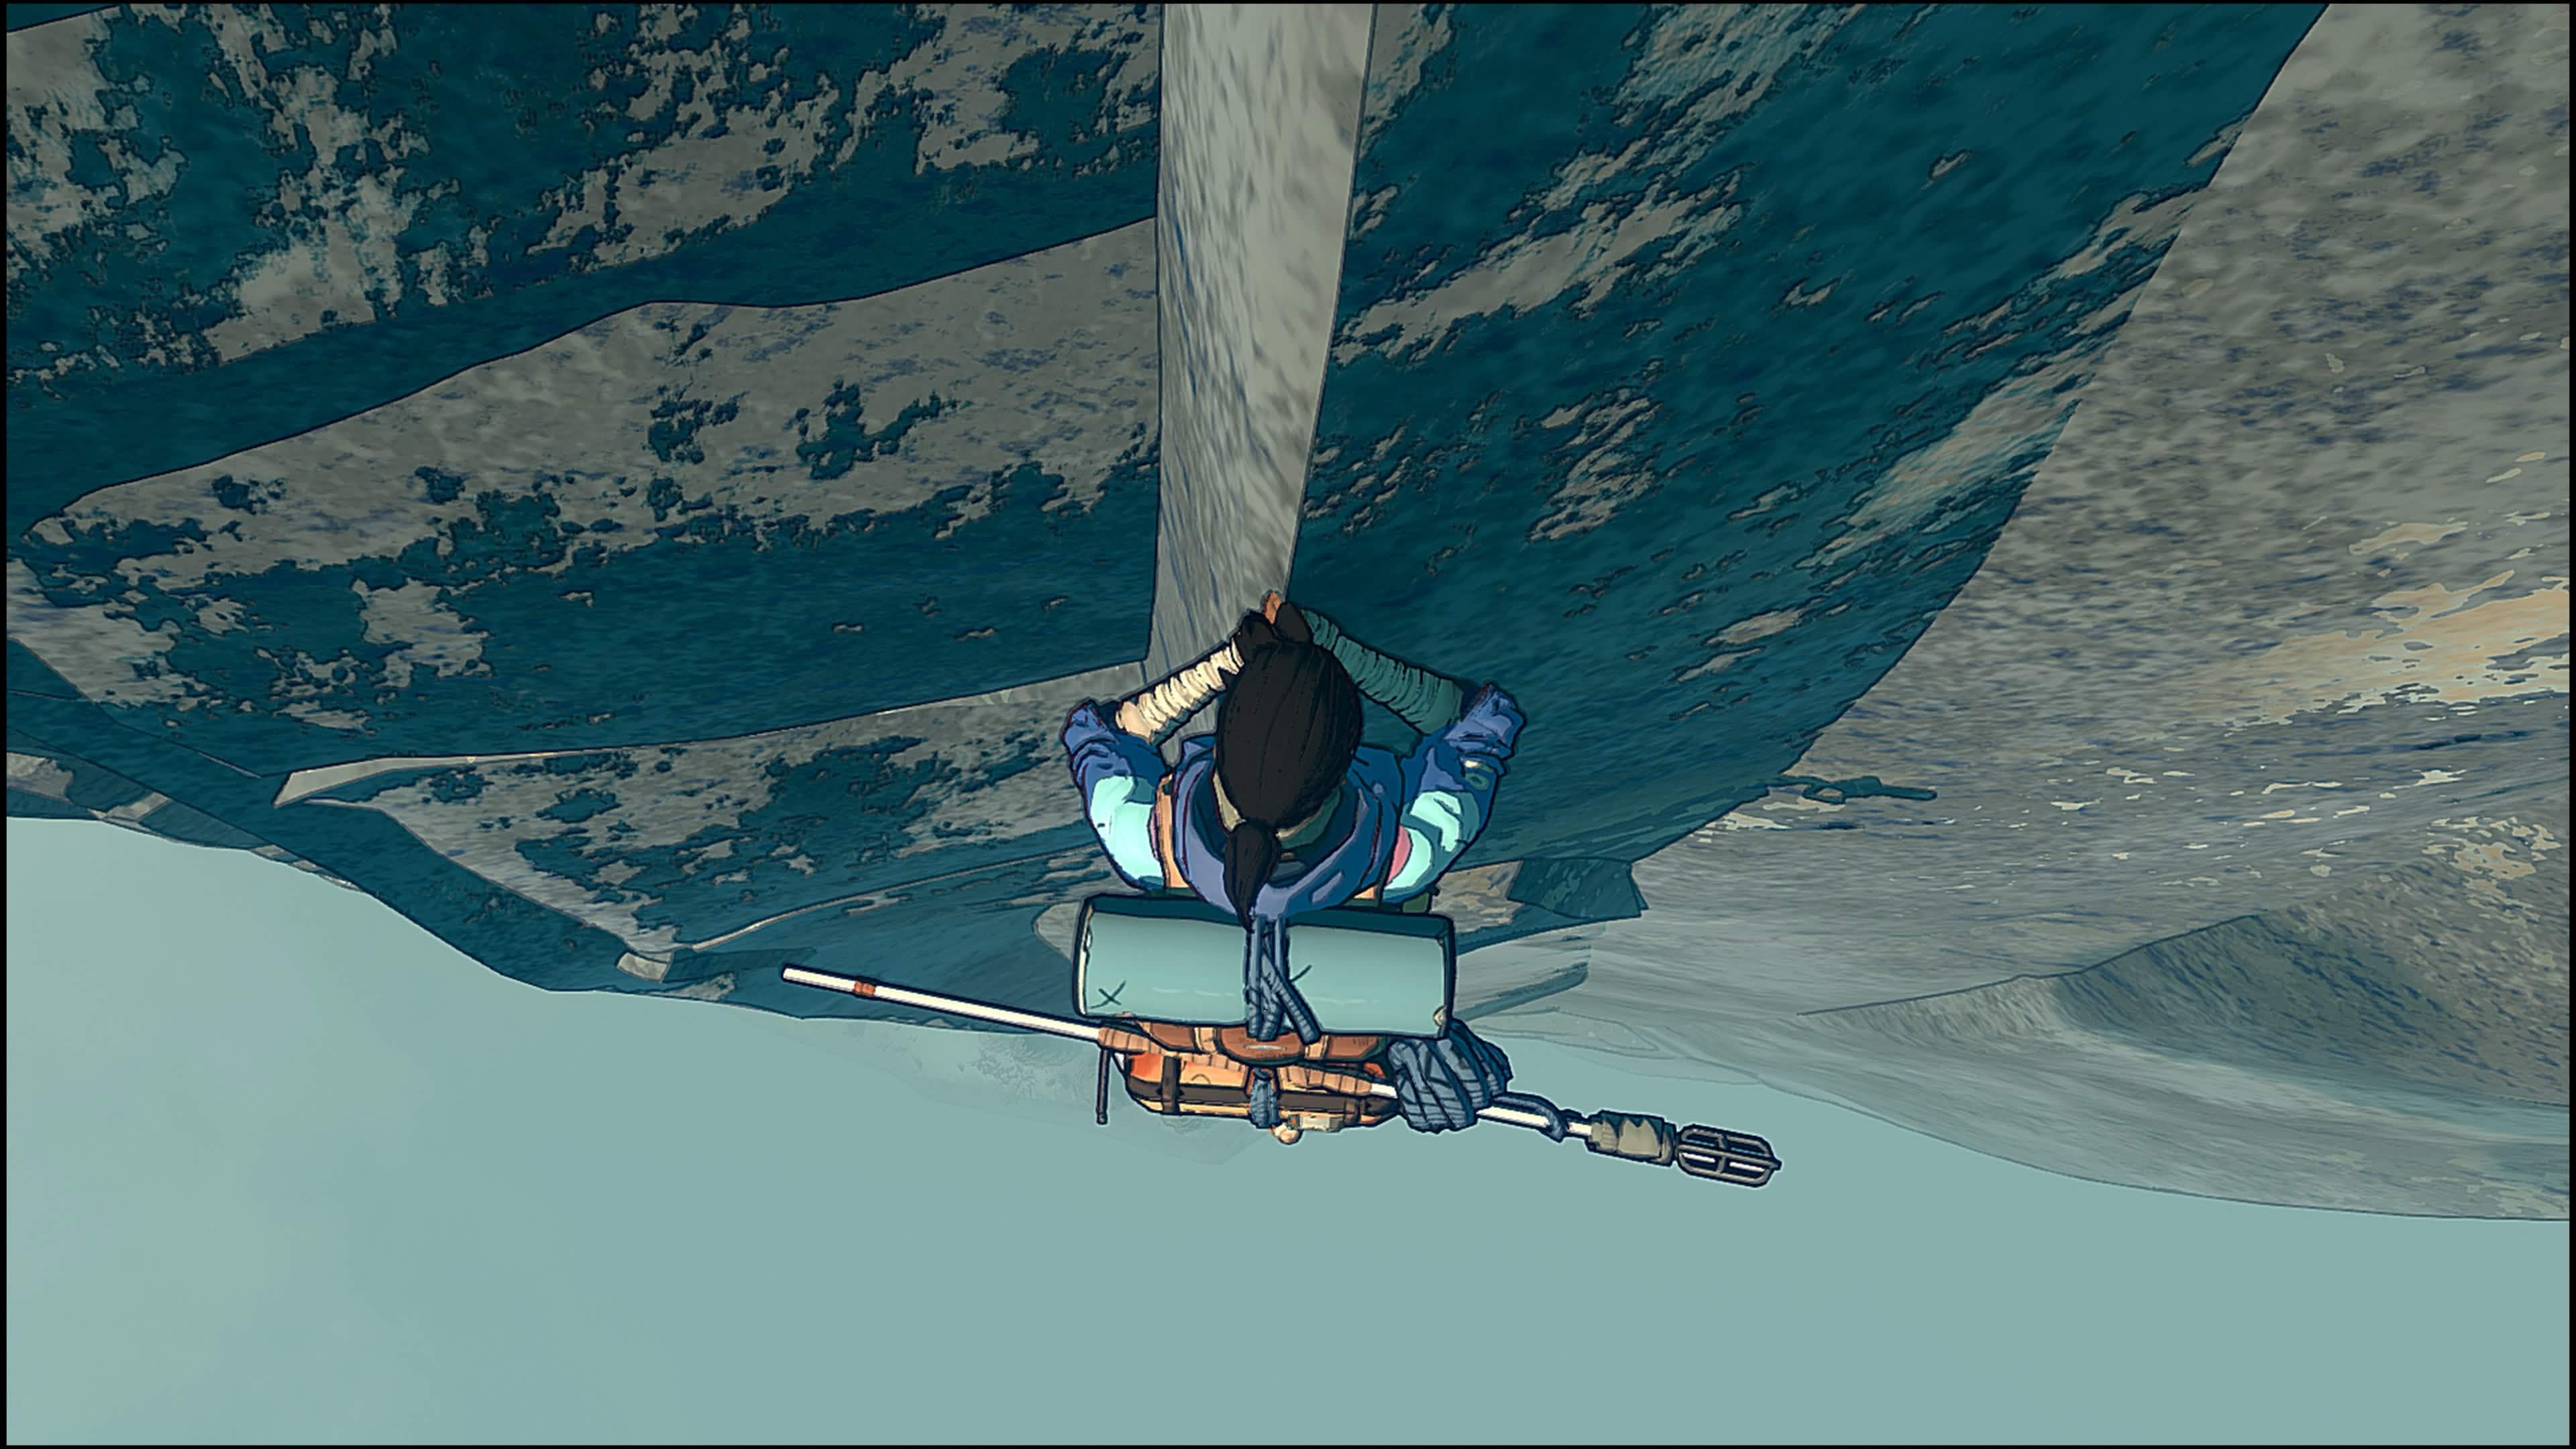
An arete is simply an edge where she’s able to get good hand holds, but not foot holds. In order to get a good hand hold on an arete her arm must be bent slightly. This is because Aava’s wrist is always in line with the arm and in order to use both points of the hand, her arm needs to be bent so she has the angle to grab the edge. Also, because her feet can’t get good holds they’re subject to lots of slipping and higher stamina penalties. Depending on the overall slope and angle of the arete it’s typically better to get her body over to one side or the other and keep all foot placements on that side or on the arete itself. This keeps the force from the feet the most square under her body. One foot on either side of an arete is typically sub-optimal unless the arete is perfectly vertical and straight for the whole length. In certain scenarios a single leg out to another face can help with slipping and getting a better angle to stick her to the arete. This is case by case and doesn’t always work.
Roofs+Overhangs
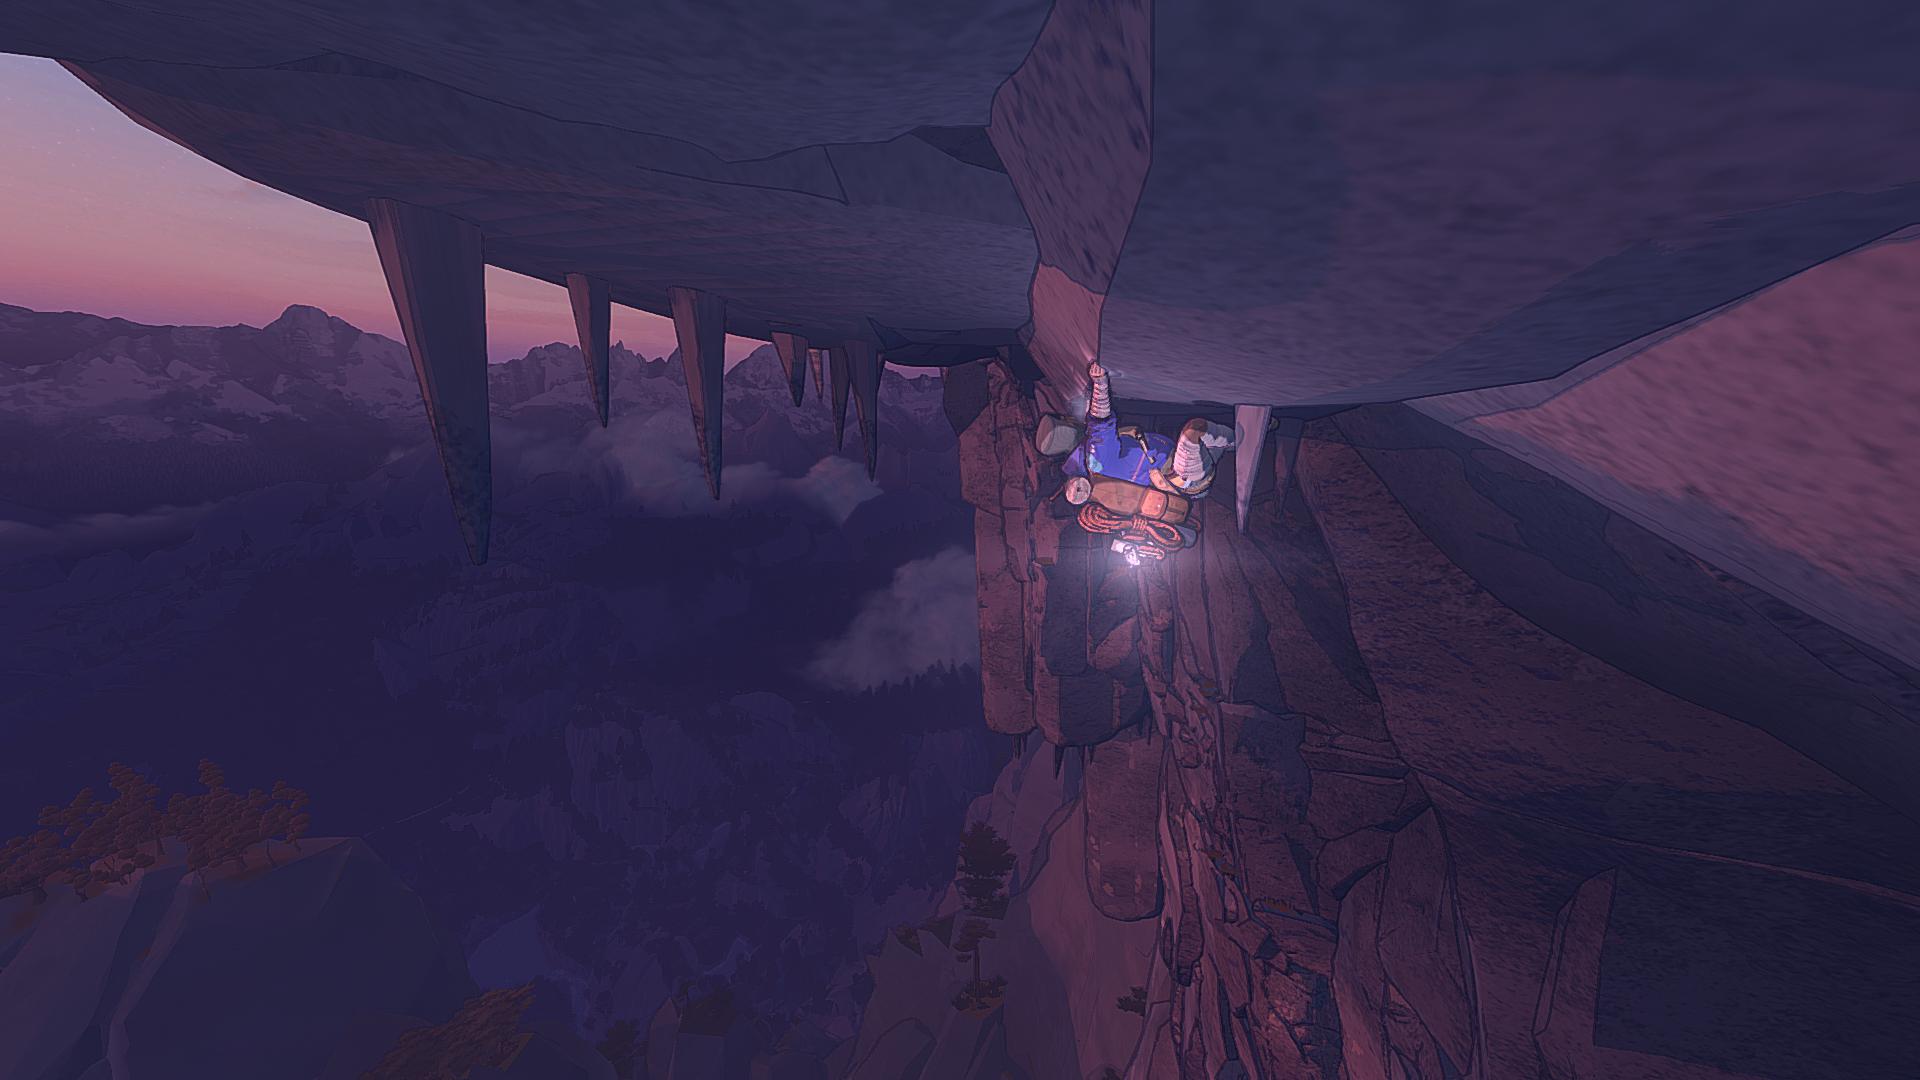
Pretty obvious, but anything more negative than pure vertical begins an overhang and progresses to a ‘roof’ when close to completely overhanging. As we discussed earlier, when the negative angle increases the effort needed to hold onto good holds gets higher and higher draining stamina more quickly. Depending on her survival conditions, types of holds, and overall route path the most typical method to pass these sections is to be quick and efficient. Knowing what holds you want to use before you arrive is best as you don’t often have the time to improvise. Oftentimes you’re able to find good feet + hands on the bottom edge of a roof, which allows her to move horizontally a bit to a better position to help mount it.
Slab
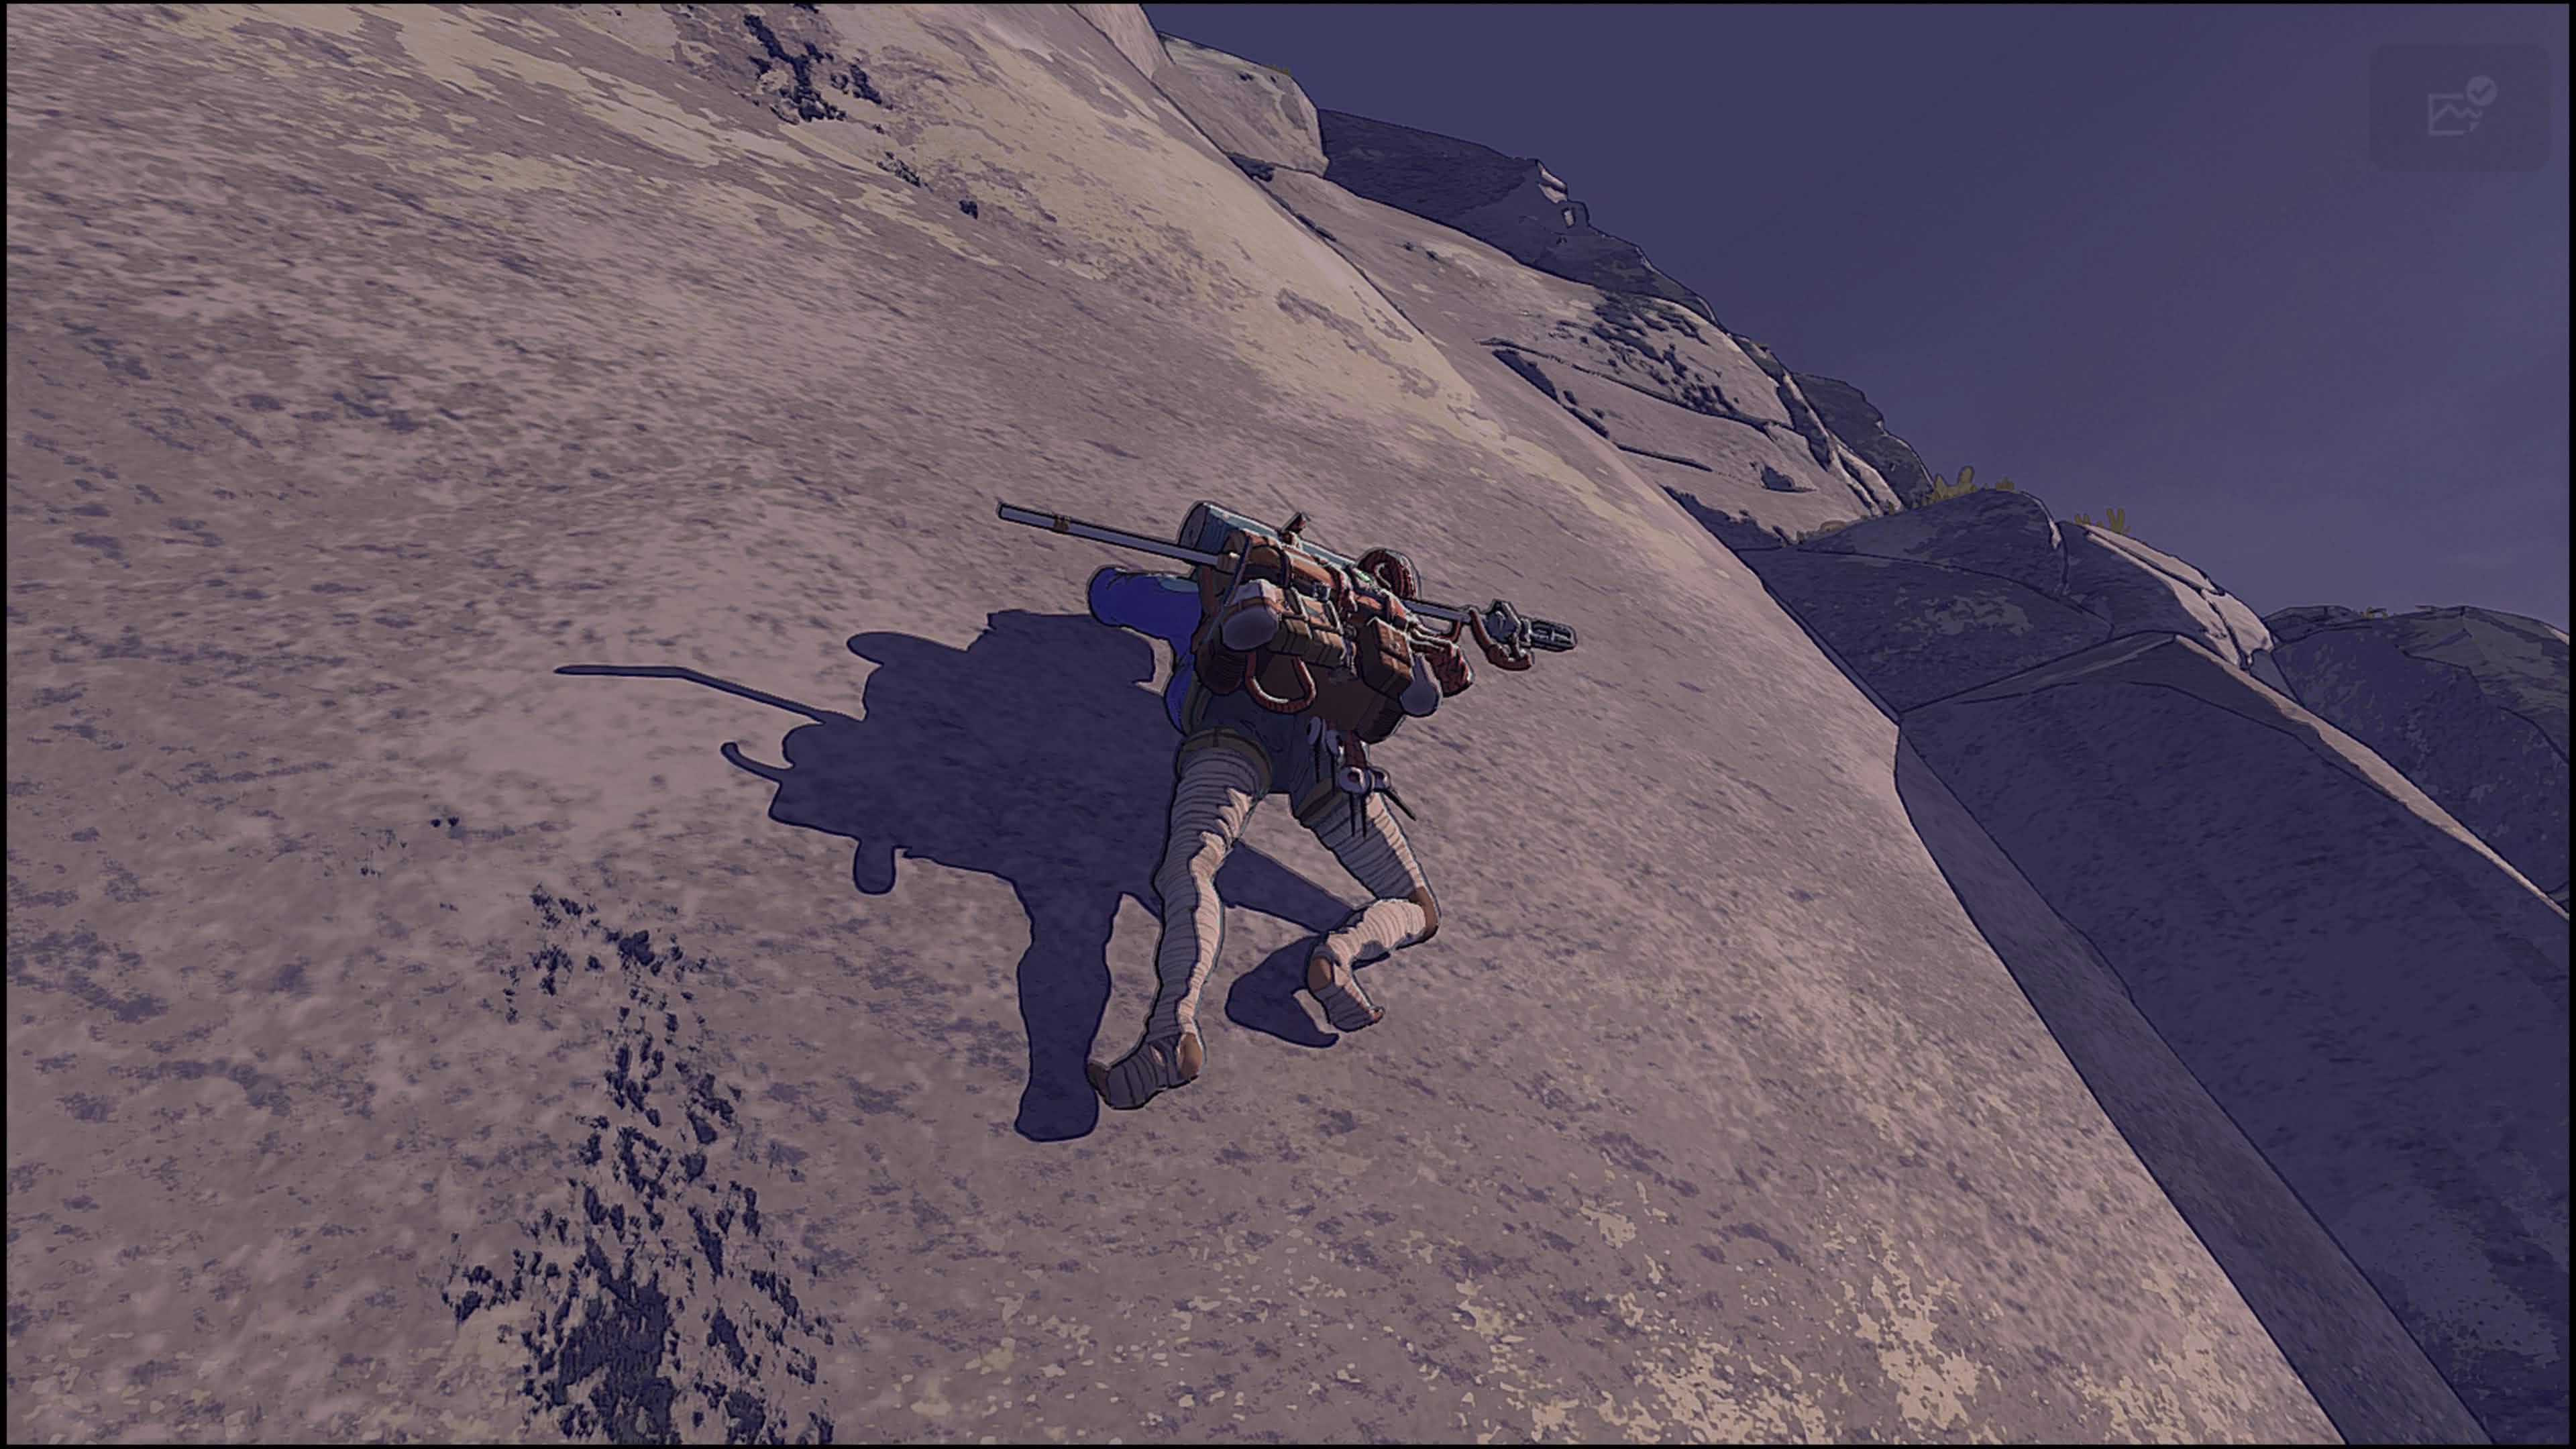
Smooth, mostly featureless rock with few to zero good holds. Climbing these sections requires a lot of patience as very slow, precise, methodical movements offer the best chance of success. As we’ve discussed, when moving a free limb, the effort of the other three limbs goes up a bit to compensate. That increase in effort also scales based on the distance, angle, the speed of the limb, and her overall position. This is why moving slowly and making short moves is ideal for slabs. Controller players generally have a bit of an advantage here as the sticks allow you to move her very slowly while M+K has just one speed. M+K is still definitely viable via short, precise moves. When possible Aava likes to square her body up between her 4 limbs- she does this automatically and we can take advantage of this on slab walls. You can do this by moving a hand and foot just a bit one direction and waiting for her to slowly move her torso to the center of the new position. Successful slabbing also encourages you to look for any slight change in pitch or angle between two surfaces. Just a barely positive pitch or slight dihedral makes slab tech easier. We’ll talk more about ‘stemming’ techniques later, but when there’s a slight angle between two walls you can utilize this angle to get more force and thus more contribution per amount of effort into both walls.
I highly recommend checking out MIAWS’ YouTube for many great examples of cutting-edge slab tech.
Traverse
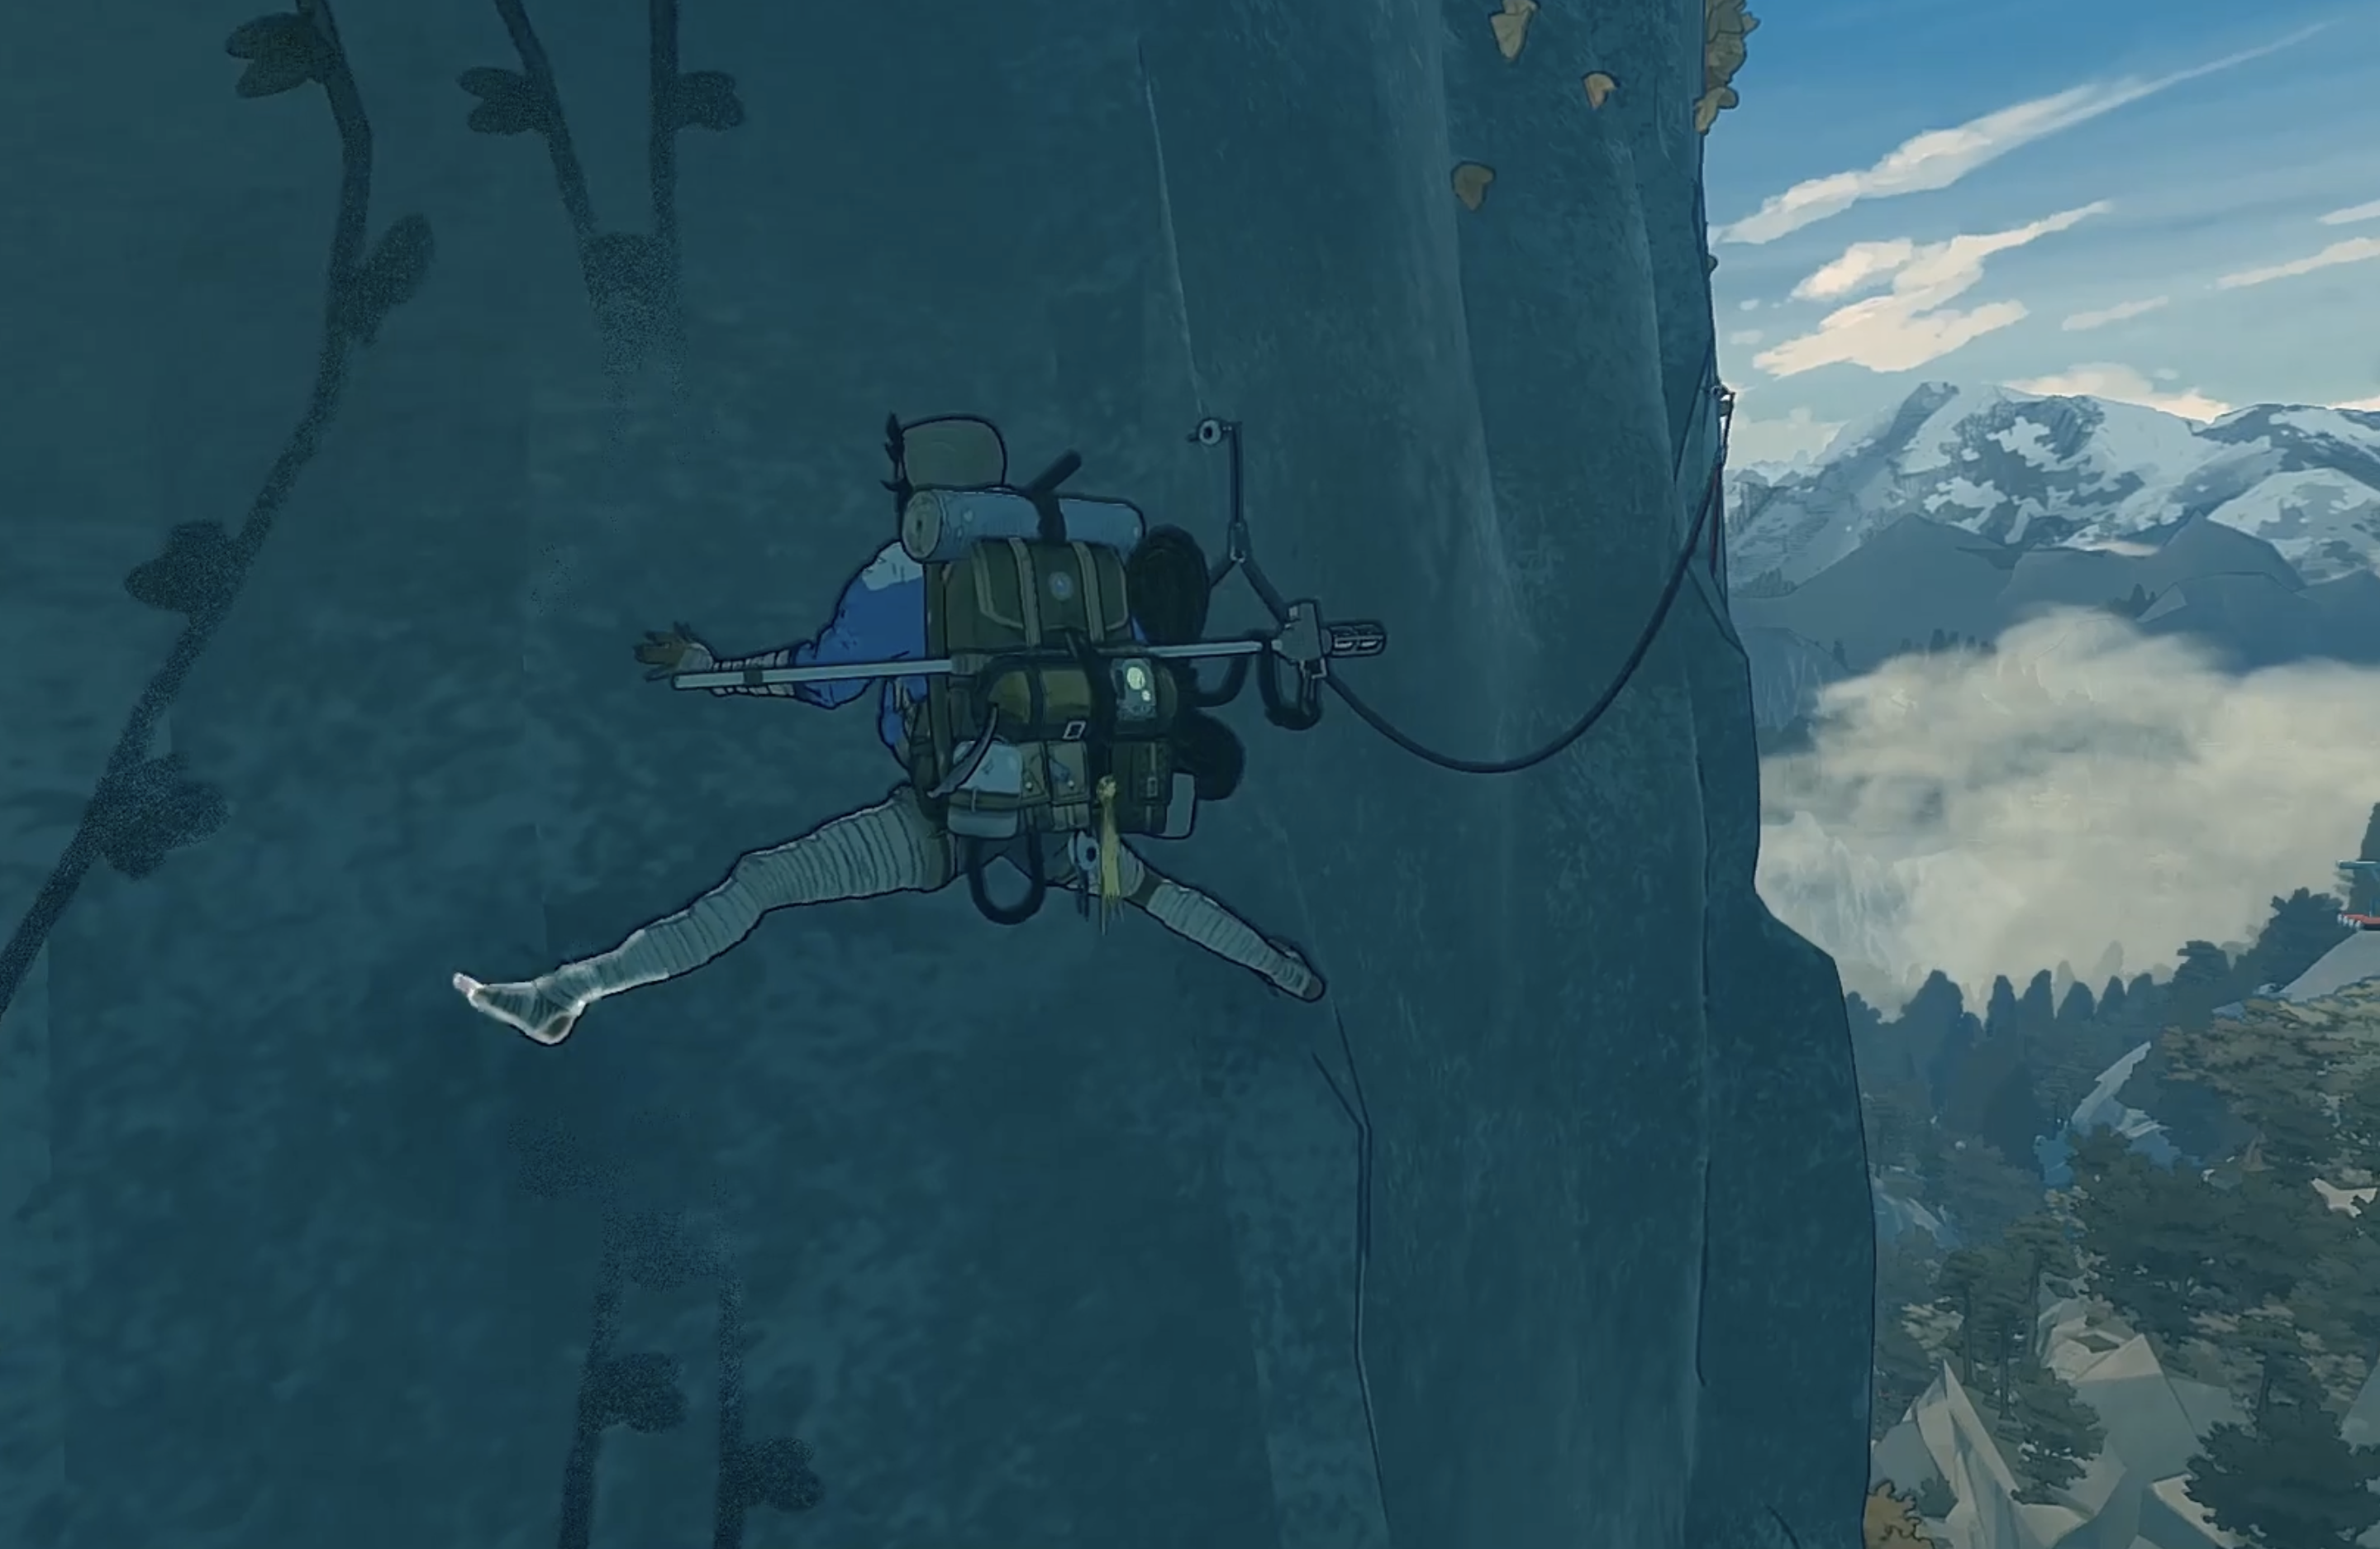
Typically just means climbing horizontally, but also commonly refers to short sections of limited holds or slab. Slab traversals require putting a lot of pieces of mechanical understanding together. You have to move quickly, keep her weight squared over her limbs, and utilize tactical uses of ‘Recover Stamina’ and Chalk Rests.
Dihedral
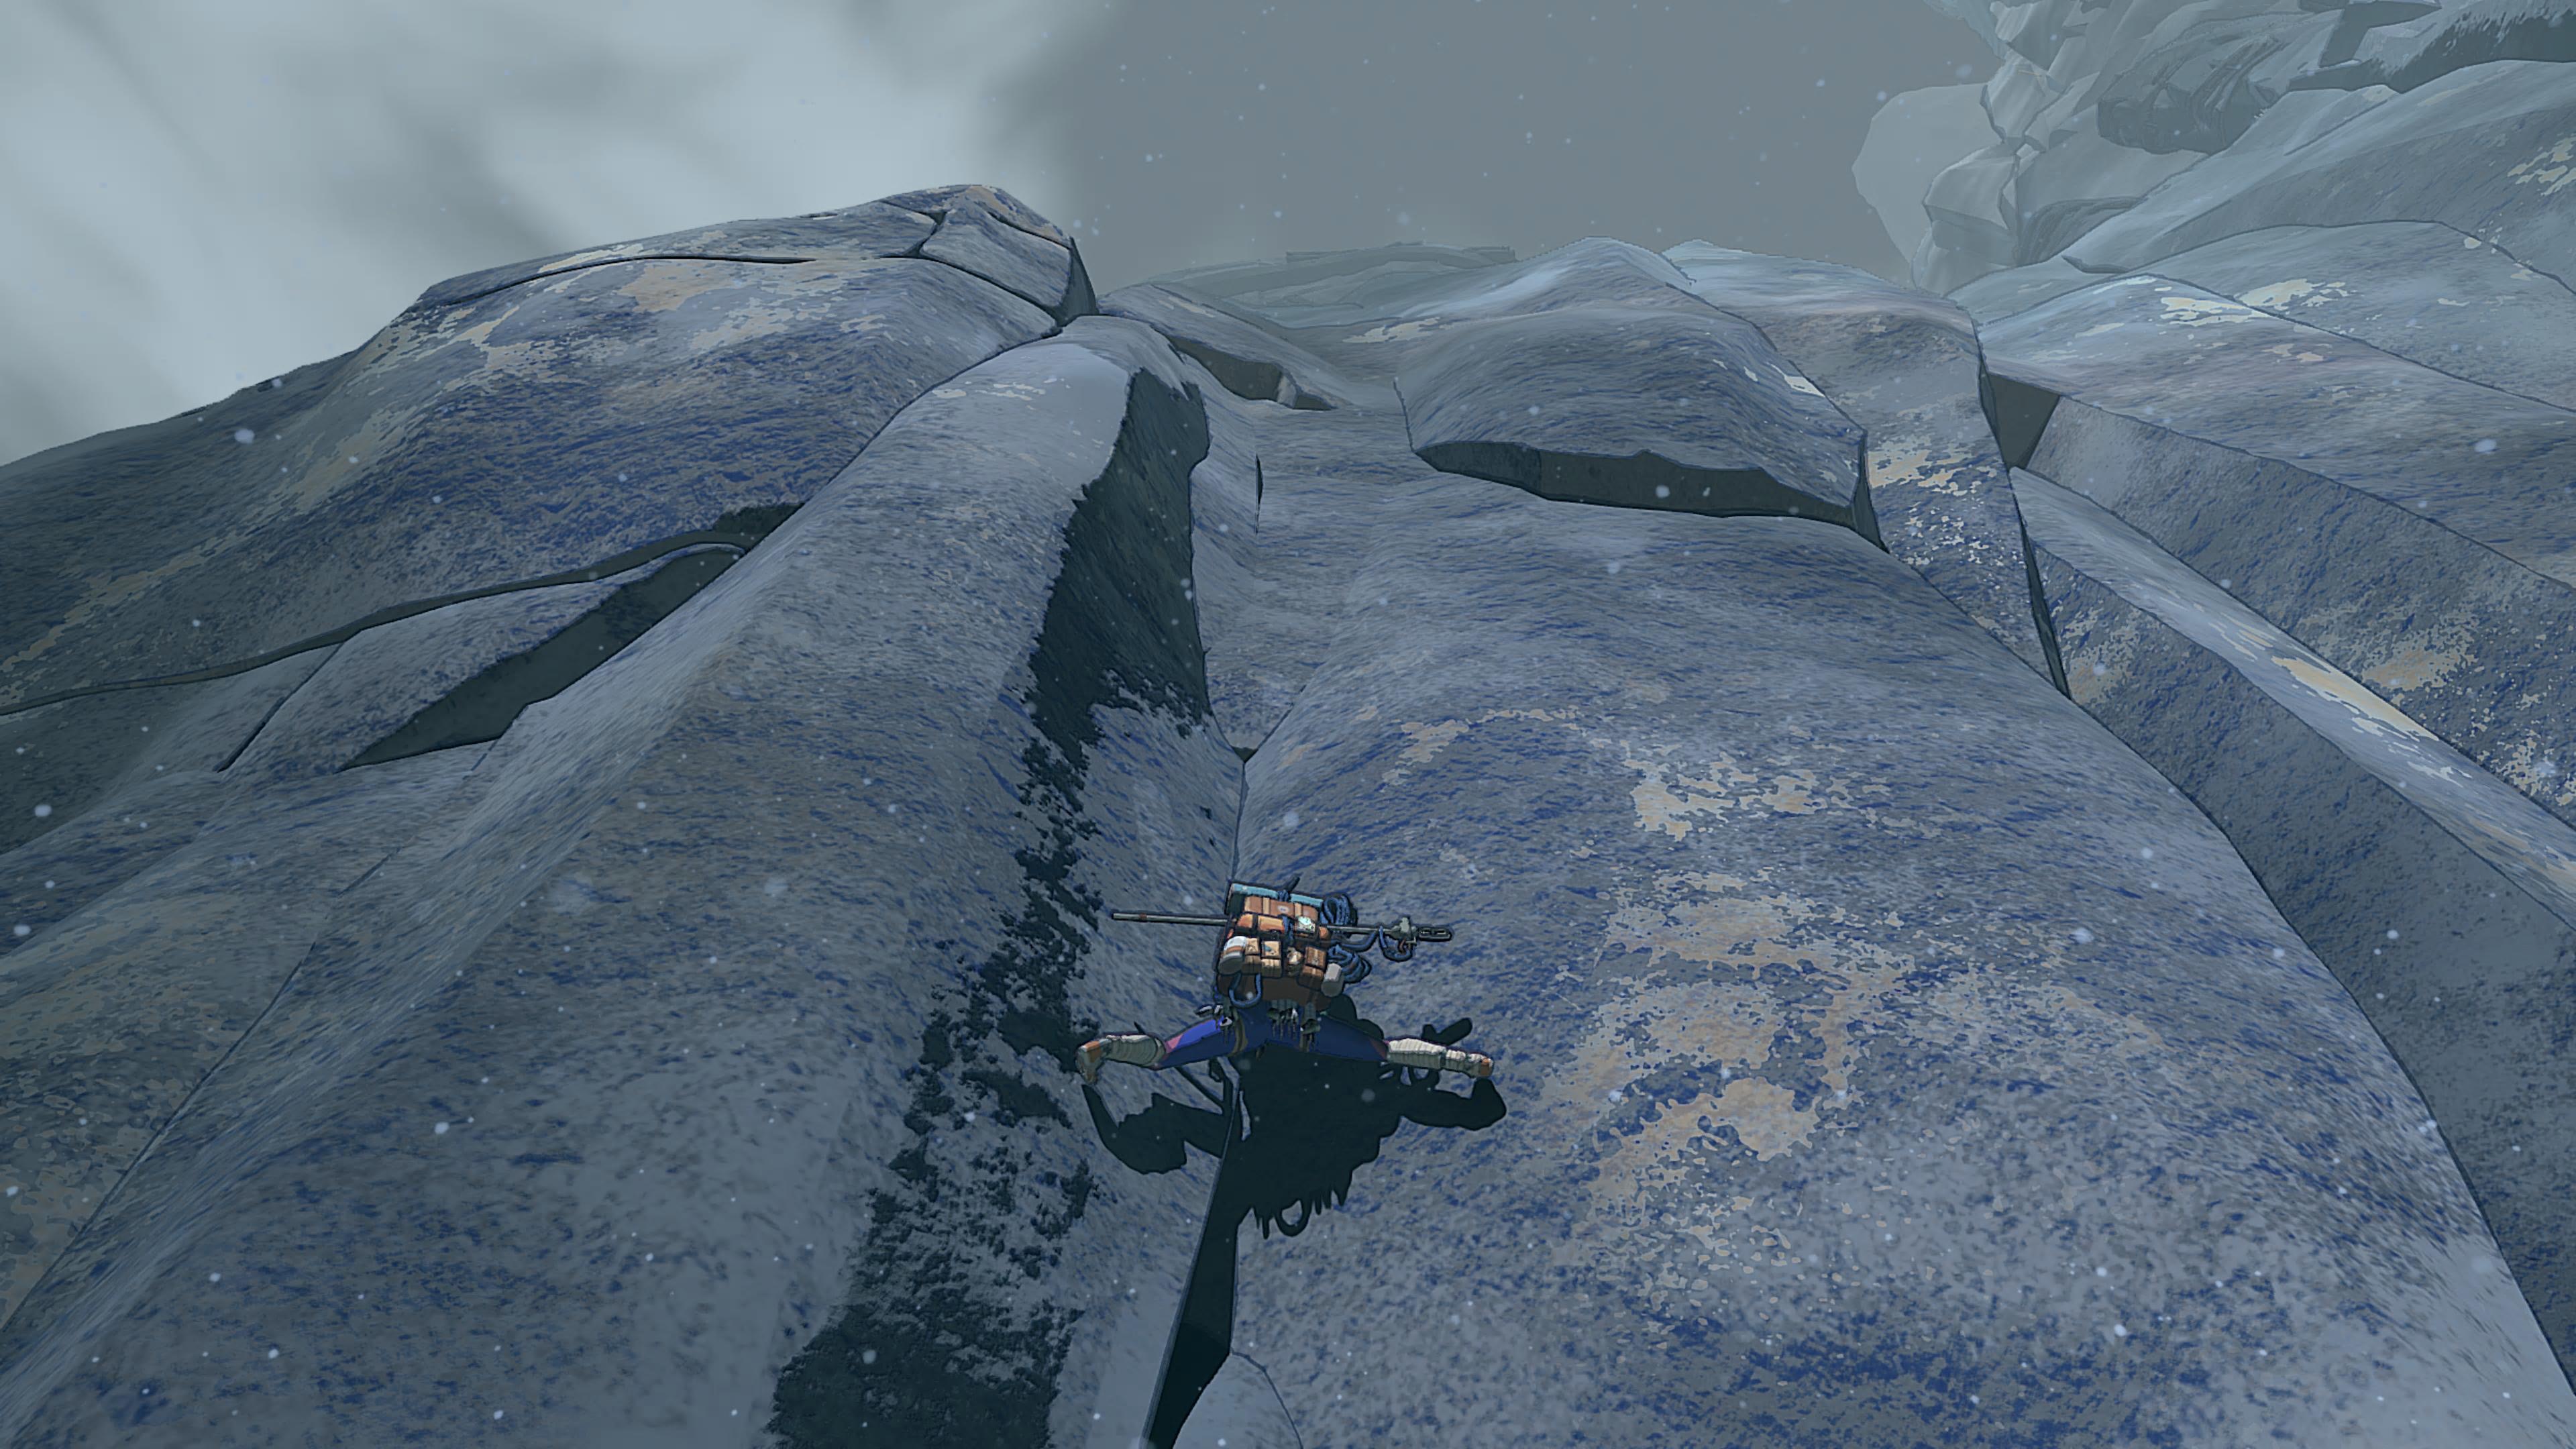
A term adopted by climbers to describe the inside corner of two connecting walls. Many climbers refer to this as a "book" because it resembles the inner seam of an opened book. In the real world, dihedrals are climbed using friction and prayer, but we'll discuss how to climb Cairn's dihedrals as we cover stemming in Chapter 5.