In This Chapter
Body Positioning
We’ve talked a bit about moving free limbs to manipulate her body position, but this certainly qualifies as a technique so I wanted to discuss it again here. With manual selection we typically choose an arm and can use that arm to adjust her position fairly easily. A prime example is turning a large corner. We can’t step through the corner so we have to get her body out and around. You can get to the edge of the corner, free an arm, and reach way out to create space that allows the other limbs to slowly work their way around.
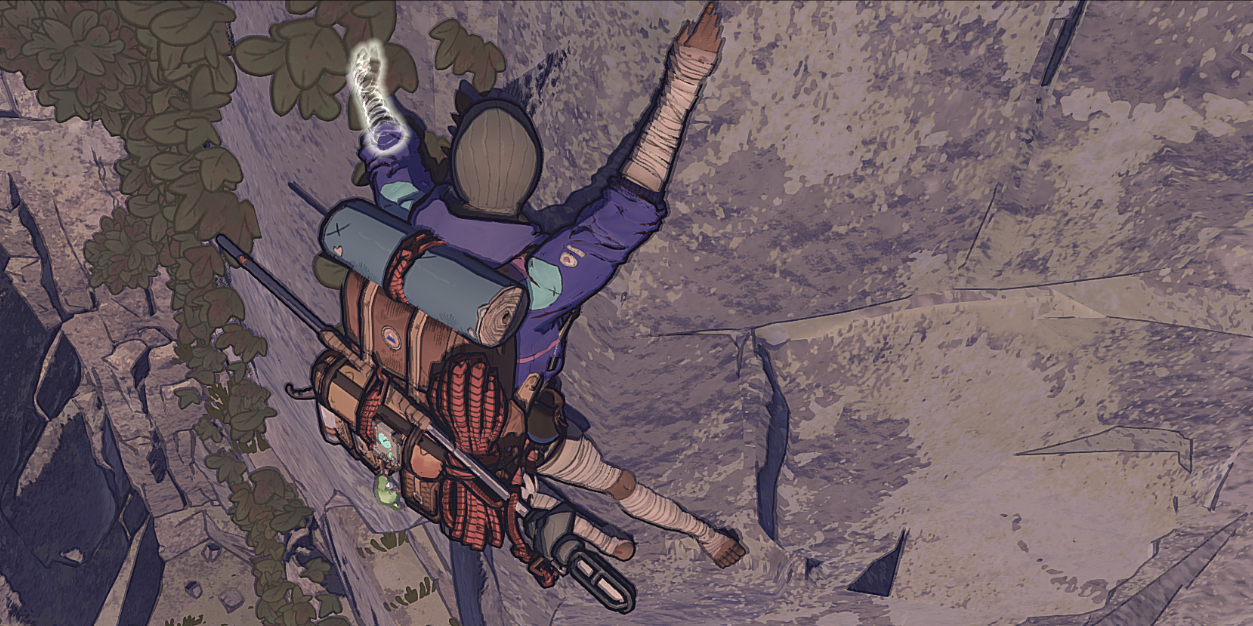
Video of some body positioning in action.(coming Soon)
Full Resting
Another topic we’ve already spent a lot of time on, but again it also belongs in the technique section for quick review. If you can get all four of her limbs in a generally neutral or stamina-positive position she will begin a full rest and recover to 100% limb stamina in just a few seconds. The tell tale sign is long slow exhales punctuated with a big sigh at the end. Getting her to rest on most terrain is fairly simple- try to find solid holds on a vertical or positive face and adjust her weight just a bit until she seems square and balanced. Having her feet on asymmetrical holds seems to help a lot- this helps ensure the legs are engaged and contributing as much as possible and reduces the effort required from the hand holds. In more challenging positions however it requires some specific techniques. First we try to give all limbs a brief chance to rest in rotation- release and replace each limb and carefully check her breathing and limb shake. The faster the breathing when you release a limb, the more important that limb is to the overall position. Try to give shaking limbs longer or more frequent breaks. Secondly, we use different body positions to put more weight on stronger holds- typically done by using an arm to drop her down into a squat. This puts more weight and thus better grip on good foot holds and helps the remaining hand hold also gets more weight and thus more grip. The free limb is also gaining stamina. All this coupled together helps to create a stamina positive and eventual Full Rest position. Working this process isn't always successful, but it can lead to a strategically important full rest that opens up a difficult section of a route only passable with full stamina. Occasionally, this process won’t trigger a Full Rest, but will get limb stamina very high on all limbs. Again, listen to her breathing for a while, sometimes minutes- if it’s slow and steady with little to no limb shake, odds are you’ve gotten her stamina to a decent spot and should consider advancing up the route or finding another spot to try to Full Rest.
Check out this video for an example of the process: Paz Tech - Full Rest (coming Soon)
MIAWS Stem
In a classic dihedral it’s fairly intuitive to understand that by putting outward pressure on both walls with enough force will allow a climber to slowly work their way up the corner. In game however there’s a less intuitive method that has seen great success in a variety of different angled dihedrals. Popularized by ManInAWhiteSuit (MIAWS)- this method that carries his name involves both hands and one leg on one wall and the single remaining leg outstretched to the other wall. We know from previous discussion that keeping her squared up between her limbs offers good balance of effort and doesn't let any one single limb get tired. By keeping her hands right around chest / neck height and one leg straight down she’s generally fairly square. The outstretched leg adds directional force into the wall for the other three limbs. This position is maintained and each limb is moved slowly and methodically to advance up the dihedral.
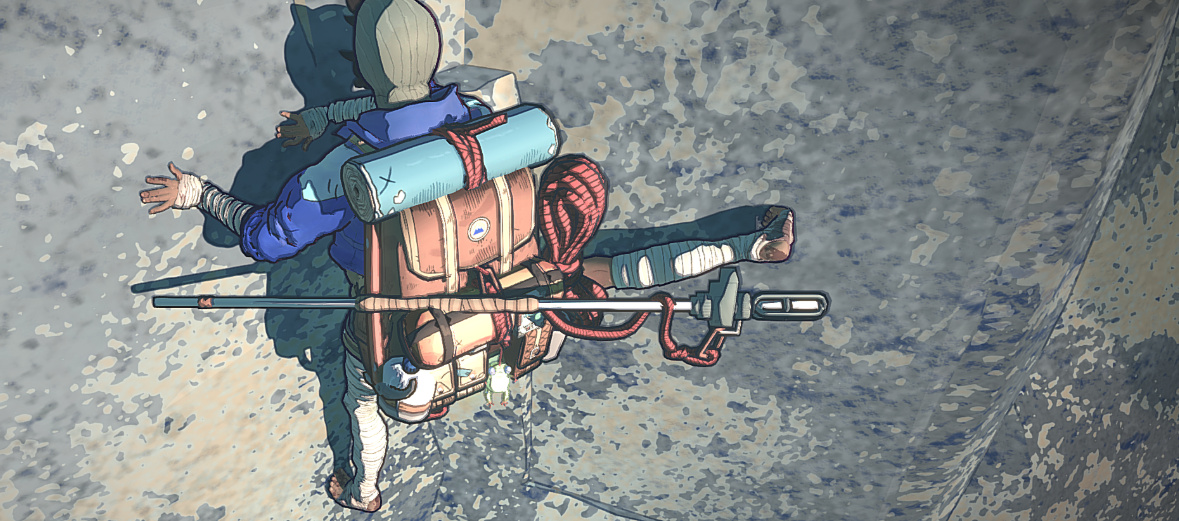
Video of: MIAWS Stem in action (coming Soon)
Dragos Splits
First debuted by Dragos on his Tenzen route “Thanatos” this deep splits maneuver keeps her body square between all 4 limbs and uses the tips of toes out as far as possible with the hands straight in front of her at about head height. Another piece of slab tech, the Dragos splits has seen lots of use on routes with very obtuse dihedrals. Like all slab work, slow, methodical movement is key. The legs are providing almost all the contribution and reaching too far with a hand can drain stamina quickly so it’s especially important to keep hand movements small and slow.
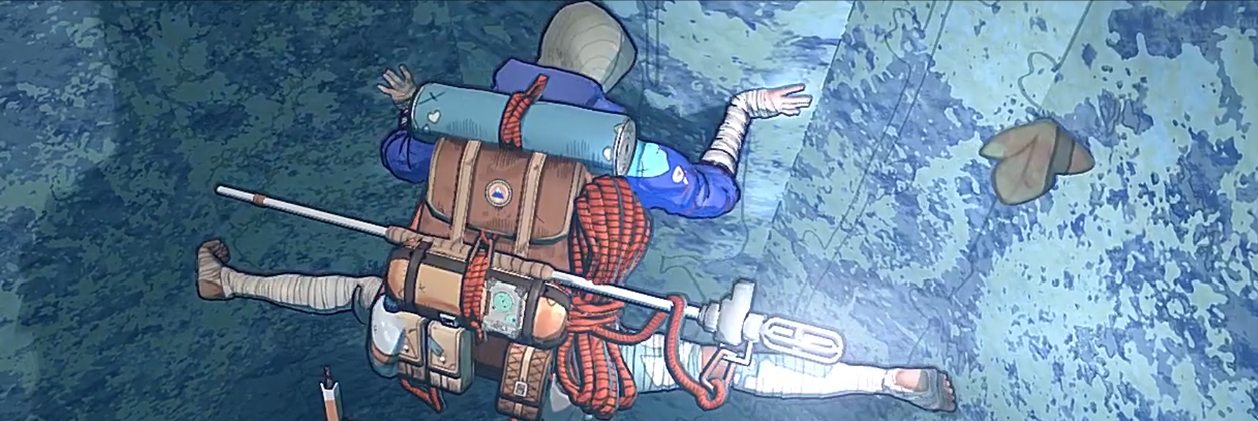
Video of: Dragos Splits in Action on ‘Growing Pains’ (coming Soon)
Auto Limb Creep
This technique is mostly an extension of the slab techniques we’ve already mentioned, but utilizing autolimb select coupled with very tiny movements to work through especially tricky slab sections. When allowing the game to auto select limbs it selects the limb with the least contribution. If you don’t improve your position much it can select the same limb repeatedly. However after four attempts on the same limb it will auto select a different limb. We can use this to our advantage as we know when a limb is free it regains stamina and with extremely small or zero movement around the same hold you don’t stress the other limbs too much. When it does select a new limb you can decide if you want to use that limb to adjust her position or select/replace until you get a new limb. You can use this process to steer her through tricky sections at relatively low stamina costs. Here’s a video example: Auto Limb Creep in Action.
Desperate Traverse
A relatively short section with very limited holds that requires the climber to strategically utilize lots of different tools in your arsenal. Moving quickly, keeping her relatively square, and getting the absolute most out of the ‘Recover Stamina’ and ‘Chalk Rest’ skills is typically required to pass these sections. These sections often require a lot of experimentation and typically just slight variations in limb positioning is the key to passing. Sometimes just a few pixels one way or rewards just barely enough stamina to get through. You have to be hyper aware of slips and be quick with selecting and moving the slipped limb. I feel that M+K has the advantage here largely due to the speed of manual select generally being quicker on that setup. While not any one specific approach will clear these sections, the above framework will give you a good start on passing what is often the crux of a route.
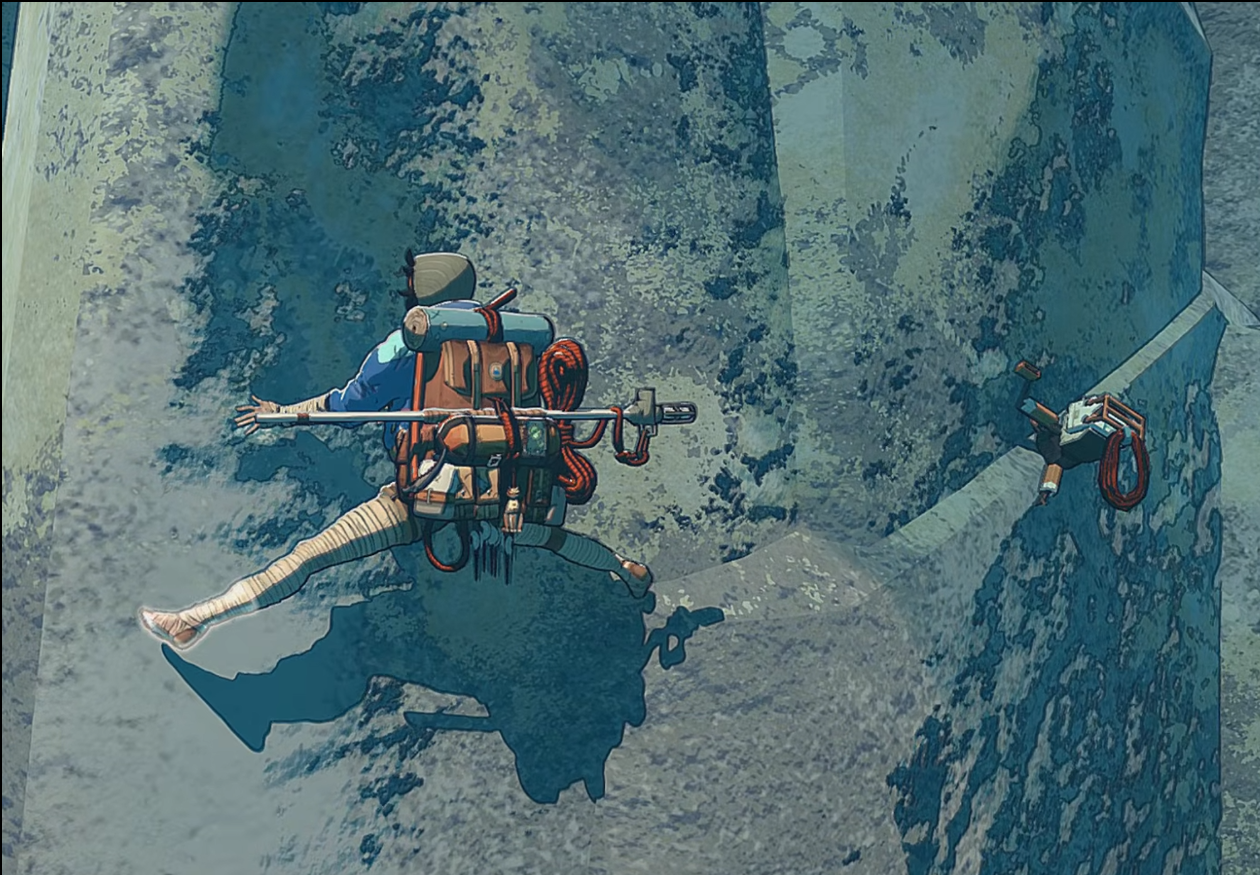
Video - Crossing a desperate traverse (coming Soon).
Dry Tooling
Once you’ve passed the cutscene with Marco where you both don ice climbing gear you can go anywhere on the mountain and have access to her icetools. When she’s hovering over ice, axes are out by default, but when you select rock she’ll want to use her hand like normal. With a modifier key you can bring the ice axes out on rock which confers many advantages. The tools can reach much farther, giving you more options for viable holds. Having both tools on good holds is extremely solid, consumes very little stamina and can help unlock cruxes that were thought impossible. The tools gain the grip benefit of chalk, but don’t consume chalk charges- so as long as you continue to use tools you can do a whole pitch or more on a single chalk usage. Two axes on slab is also not terrible and can help unlock longer slab sections. A single axe on slab will slip very often though, so be aware. Lastly, when you do slip she’ll automatically swing an axe again to try to recover a hold, and many times this can save an attempt if she lands a random good hold. Launching out into the unknown with ice tools is still one of the final frontiers of climbing tech in this game- there are likely many many super challenging routes only doable with tooling that have yet to be discovered.
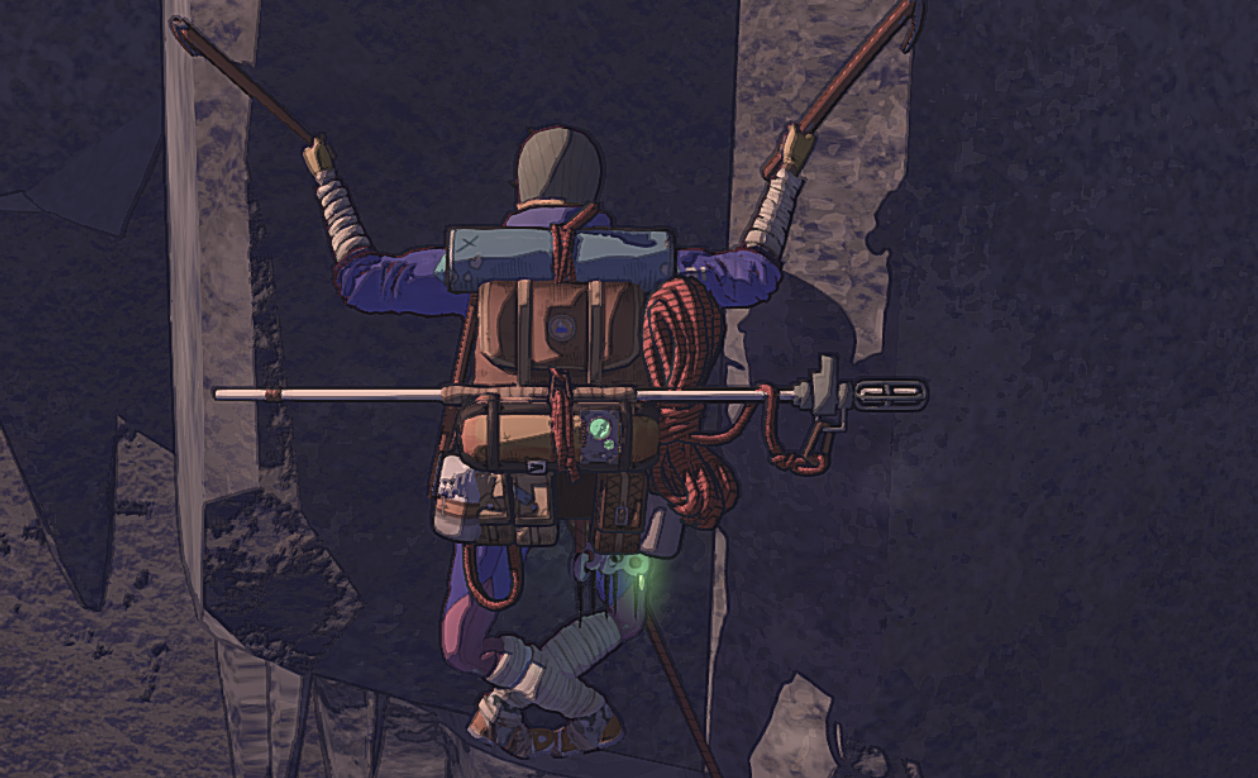
Video of Dry Tooling in Action. Or Slab Dry Tooling (coming Soon).
The Dark Arts
Campusing
In certain positions, you can coax her into freely releasing a leg while still in control of another limb. Select the other leg and now she’s only hanging on with hand holds. This is called campusing in real life and causes a glitch in Cairn that gives Aava absolutely insane grip and nigh-unlimited stamina. Once you start a campusing sequence you can literally flat palm up a smooth face with just hands. Having just one leg on a hold is seemingly also glitched. The grip and stamina buff isn’t as high as full campus, but still drastically reduces normal stamina consumption.