In This Chapter
This last section will serve to address a final few important considerations and summarize an overall approach and mindset to climbing in Cairn.
Manual Limb Selection
Here we are at the end of the document and I’m just now getting to limb selection. Having a solid grasp on manual limb selection controls is a mandatory skill for all climbers. The speed at which you can select a limb is key to a lot of hard routes and while I give the edge to M+K players here, both control types can and should make very effective use of this feature. For easier sections or speed climbing Auto Select will mostly be used and gaining an intuitive understanding of which limb the game will select next is useful and important, but if you don’t have a firm command of using manual select, lots of routes will be impossible. Make sure this feature is on and build muscle memory with the style that works best for you.
Feet are more important than hands
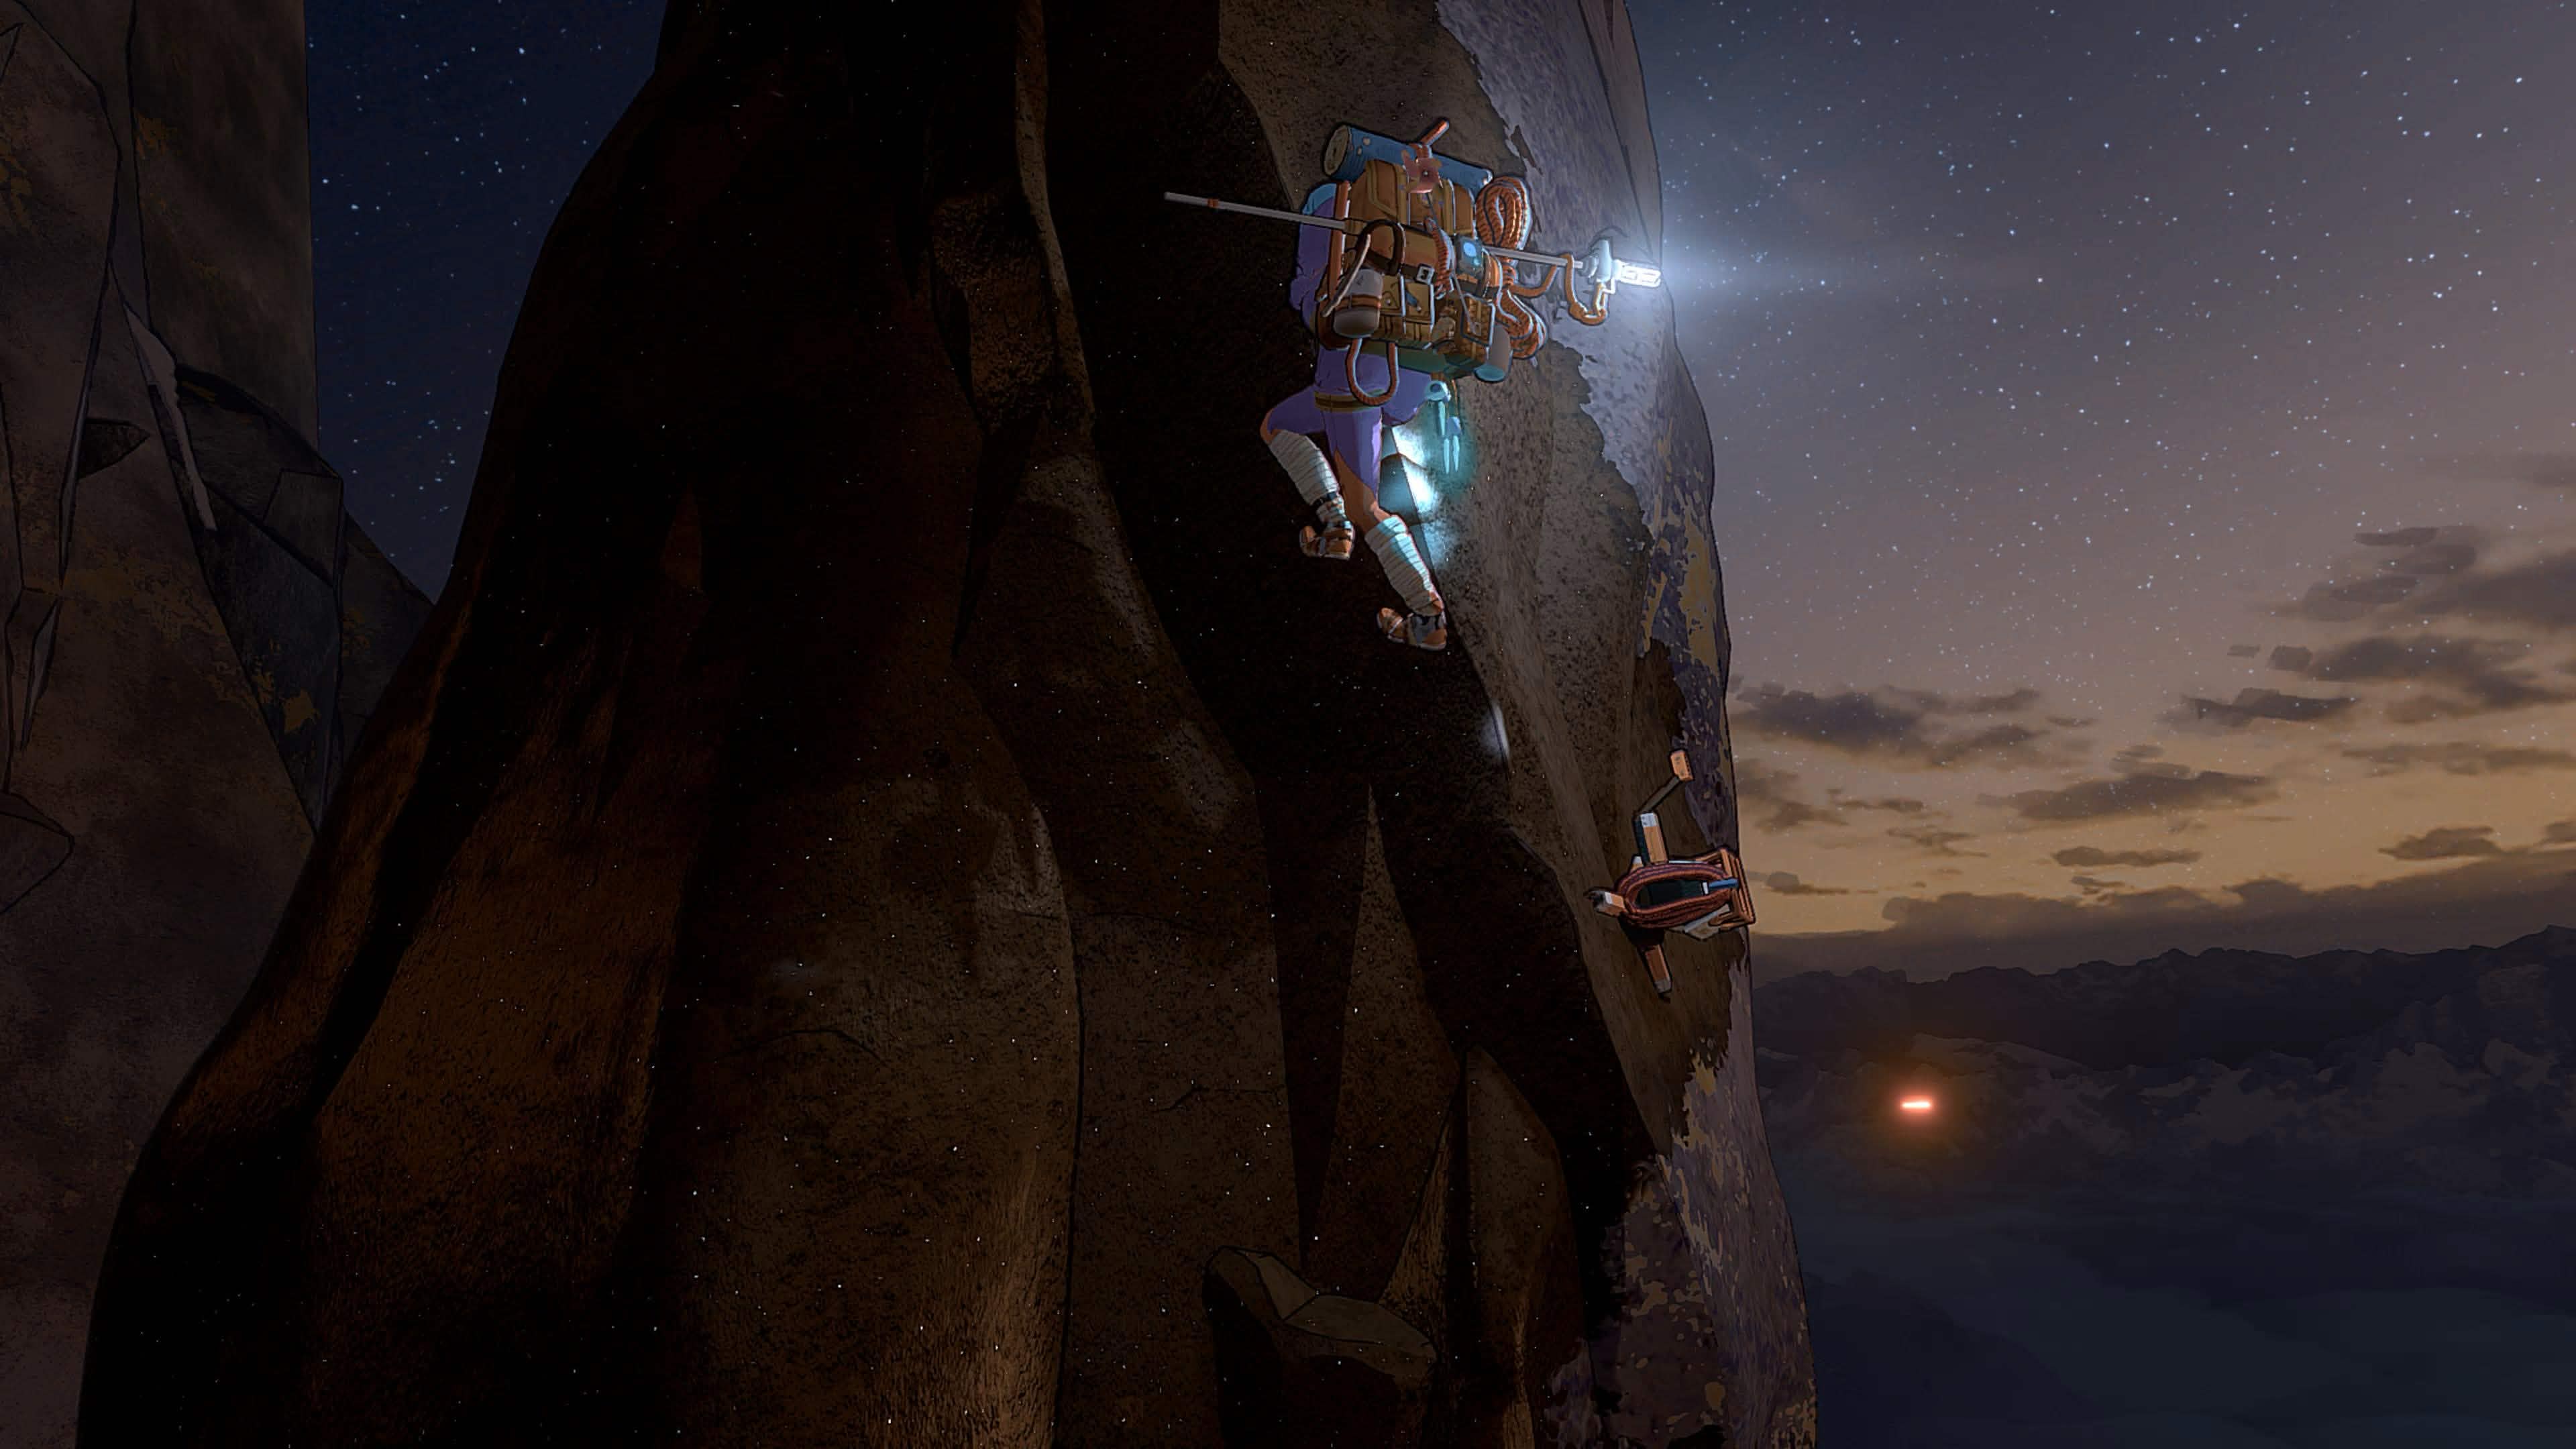
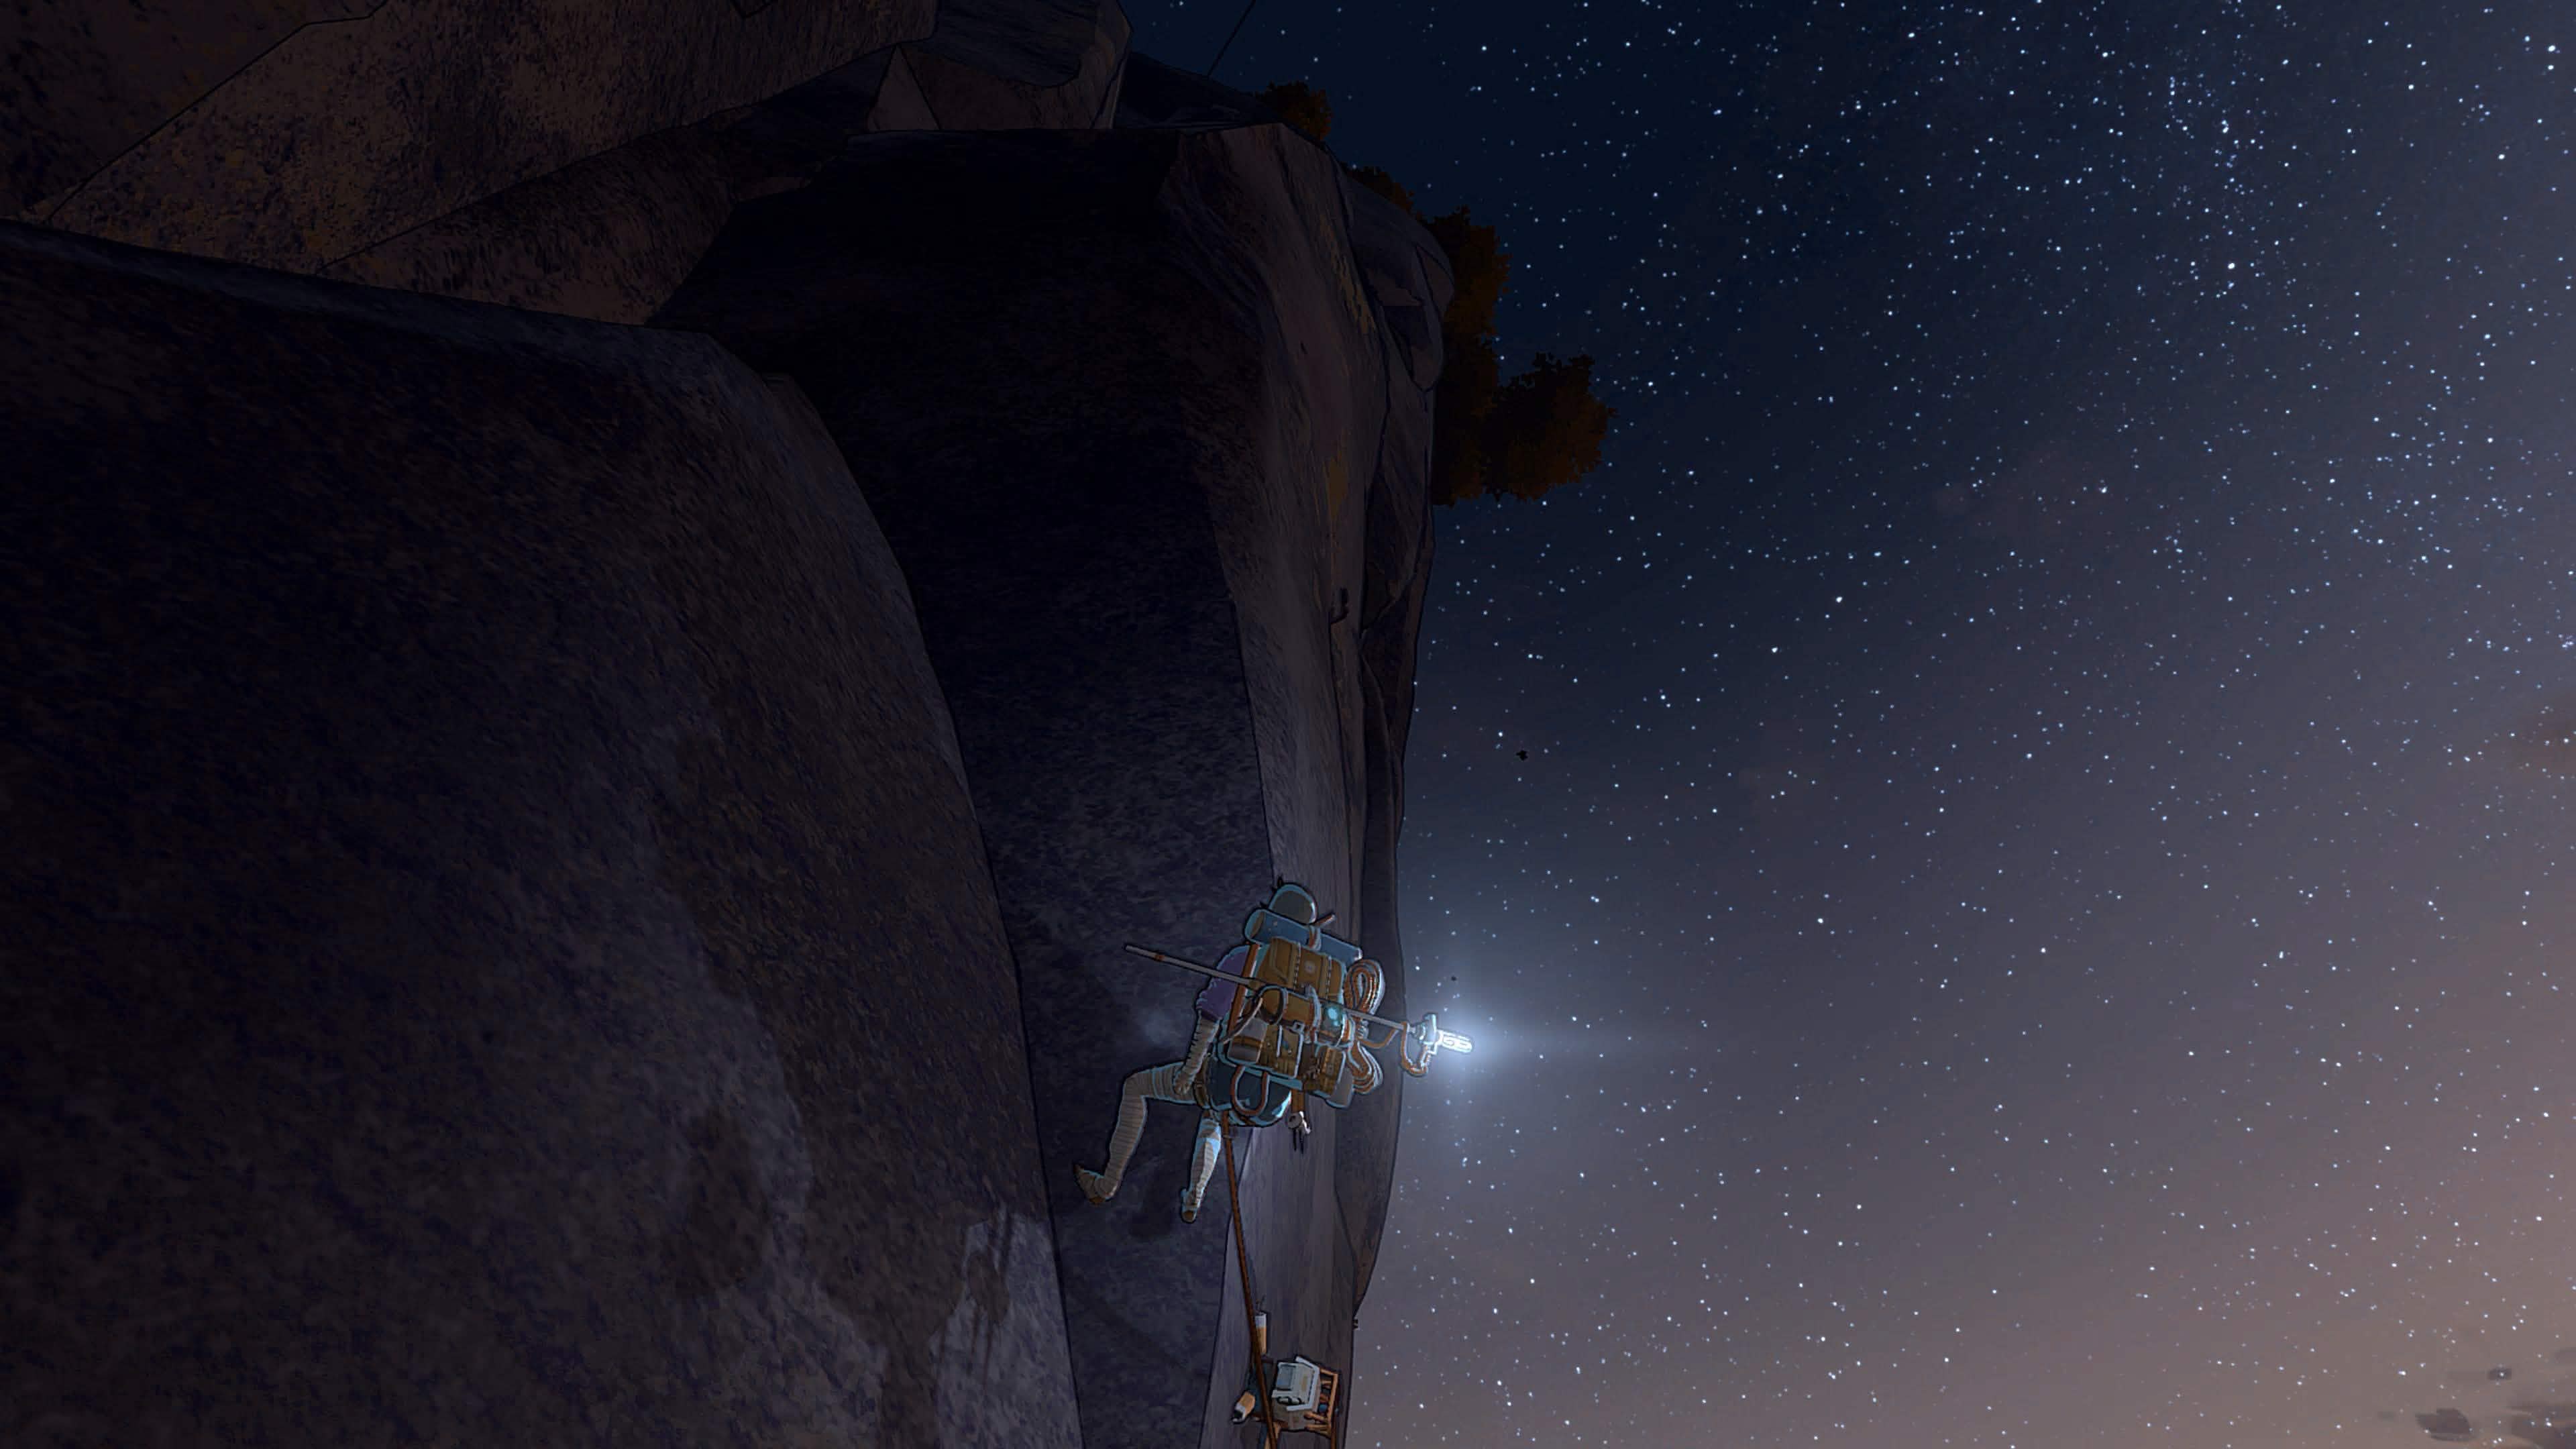
During the debug overlay and thorough Full Rest breakdown we briefly discussed the importance of good foot holds, but I wanted to reiterate it again in this final section. Like in real life, you should climb mostly with your legs, that is, Aava’s foot holds almost always provide more contribution for proportionately less effort than hand holds. Sections with little to no foot holds like aretes and slab are sketchy for a reason. Prioritizing solid food holds and giving shaking legs a chance to rest and reposition as much as possible will yield the greatest benefits to her overall position. Use body positioning and other Full Rest techniques to secure solid feet as a top priority.
Mouse & Keyboard vs Controller
We’ve already covered features and techniques that included insights into the benefits and drawbacks of each type, but to summarize, controller’s primary advantage is that you can vary the rate at which you move a limb, which in general can unlock a lot of slab routes. It also allows you to draw a straighter path to the next hold which can consume less stamina. Finally, controller is more precise in putting a limb exactly where you want it. When you’re manipulating a certain hold to get her to attach in a certain way, controller allows you to be super accurate and approach from a variety of angles to get the ideal hold which can confer a big stamina benefit.
M&K’s primary advantage is that you can manually select a limb extremely quickly. The keys seem a bit more responsive compared to controller and you can develop the muscle memory to select the limb you want with almost no delay. Controller players can be very fast at this as well, but in my experience and in watching others, M&K is consistently faster. This confers many advantages on certain features, especially desperate traverses and quick, powerful crux sequences. The movement of the limbs with M&K is done with the WASD keys and offers only one speed. The player must use a combination of straight line inputs in different directions to arrive at the hold they want. This feels a bit weird at first, but once you get it down it can be quite efficient. You can hold the W key down and whichever limb the game auto selects will start moving up at its fastest speed. There’s a reason all the best speed climbers use M&K.
M&K also offers better camera movement. The camera position affects how the game interprets your limb inputs and I'm sure many of you are familiar with how janky she can be when transitioning to a pillar, roof, or different face. The speed and accuracy of a mouse camera goes a long way to mitigating these issues. One of my biggest complaints is how slow the controller camera is- M&K really shows you just how important good camera positioning is.
Having spent a lot of time with both input types my take away is that certain features and routes benefit more from one type or other. Having the comfortability to switch at will has been very useful and if you have the ability to play with both it will make you a more complete climber. It might be recency bias or because of the type of climbing that I like to do, but I feel like M&K offers a bit more leeway in general. This feeling is not supported at all in the data. The same route with the same moves displays statistically insignificant differences in stamina use and E vs C numbers. There is enough human factor baked into playing that even if there are programmed differences between the two types of inputs- it was imperceptible to me during many hours of research.
Assuming a controller player gets extremely fast with manual limb selection and is very decisive with their moves I believe that controller has the highest ceiling for very hard, cutting-edge routes. The ability to vary the rate of limb movement is such a powerful tool to manage stamina. The precision controller offers can ensure better holds more often than M&K. M&K will likely always be the king of speed and desperate traverses though.
More than anything, going with the type of input where you’re the most comfortable will bring your best result
Stamina Zaps
Stamina is the core of the climbing system and has been discussed ad nauseum, but I would be remiss if I didn’t discuss stamina drain a bit more. While a lot of stamina drain or gain rate can be intuited from experience and the data presented here, there are certain holds that absolutely zap a limb’s stamina in less than a second. The most common is a single hand reaching out onto a flat slab. If you have three solid holds and move a hand out to a completely flat slab it initially won’t drain too quickly, but as soon as you move another limb and ask that slab hold to contribute more it will almost instantly reach critical stamina. Knowing when you’ve found a set-up like this is important and if possible retreating to a safer position is usually the best way to work around this. Slab or completely flat, bad holds are the most common culprit for these stamina zaps, so be aware when she goes from seemingly comfortable to suddenly about to fall- odds are there’s just one limb that is in a really bad position to provide contribution. It’s dangerous holds like this that can cause a lot of frustration as you’ll use the ‘Recover Stamina’ skill or a Chalk Rest, but they will only buy you a second or two as the stamina drain is so fast. When transitioning from solid holds to slab or up onto a roof, it’s important to build a sequence of moves and know where you’re going to minimize the time you spend with any one limb at critical stamina. Know the signs of these holds and work around them by finding different beta or by moving through them quickly to better positions.
Climb a bit slower, most of the time
A lot of climbers can get themselves into bad situations primarily because they climb too fast all the time. They then quickly arrive at a bad position and don’t have the stamina buffer to adjust or retreat. It seems to them that maybe the hold feedback system was lying, or the mysteries of certain holds continue to elude them. But the truth is that by climbing so quickly they asked for more effort from the limbs than necessary for a prolonged period of time. The limbs were likely operating at just above critical stamina for a lot of moves in a row before arriving at a more challenging spot and thus a position that may have held them safely on previous attempts now casts them off the wall. Work to square her up over her hips when possible, take the time to readjust as you go and balance the effort across all four limbs as equally as possible. Climbing with balance, efficiency, and a relaxed pace across the whole route gives you stamina in reserve to adjust position, retreat, and fight for a Full Rest as needed. Of course with desperate traverses, overhangs, and roofs we need to move fast, but unless you’re speedrunning, slow down- give yourself a stamina buffer as a safety net and you’ll find the game is quite consistent and predictable.
Have A Plan
When pushing for your first Free Solo, speedclimb attempt, or a hard route it’s important that you have a plan for that session on the wall. The plan can be as simple as ‘just have fun’ or aimed at a more specific technique or crux. Going into a session with no plan is a recipe for frustration. Diving into a first free solo attempt without having a general idea of the route, resources, or tempo you’re after is a recipe for failure. Putting hands on a hard route without planning whether it’s going to be a scouting, technique, or crux practice session has discouraged many talented climbers. It doesn’t have to be a huge manufactured plan, but be honest with yourself and digest your goals into manageable parts then attach those parts to dedicated sessions. If you’re looking to improve, you’ll get a lot more mileage out of your play by breaking out sessions with a dedicated plan than by just jumping in head first. If the plan goes well and you accomplish your goal for that session- of course keep going if you feel like it, but now the pressure is off and you have momentum for the next session. Of all of the info in this guide, I believe this simple advice is the most important for both improvement and ultimately, enjoyment of this wonderful piece of art.

Goodbye, for now.
This guide has been a fun, but somewhat grueling project. For my sanity, I haven’t counted the hours, but they are a lot- well over a hundred, mostly in the research. On the whole it seems robust, but to me it’s still incomplete compared to my initial vision. I hope that this guide continues to grow as promised- I welcome anyone and everyone to reach out with additions, corrections, further research, and anything that could help serve the community so we can all climb harder and more confidently.
As we reach the end, I want to thank those that have spent a bit of time with this document. I truly love Cairn. It has become an important part of my life and created some of my most cherished gaming memories. More importantly, it’s connected me with some great people who I’m happy to call friends. These friendships- built from diving head first into the mechanics and physics of this beautiful game have transcended the gaming space. That to me is truly Cairn’s most remarkable achievement.